I LOVE that there are brides, grooms,and wedding designers out there who feel the way I do
about incorporating calligraphy into a wedding, making the smallest details unforgettable.

The invitations were mailed in boxes—
white ink in gray...

...the dessert menu informed guests of the delectable selections awaiting them...

...and the Guest Book sign invited guests to leave memories for years to come.
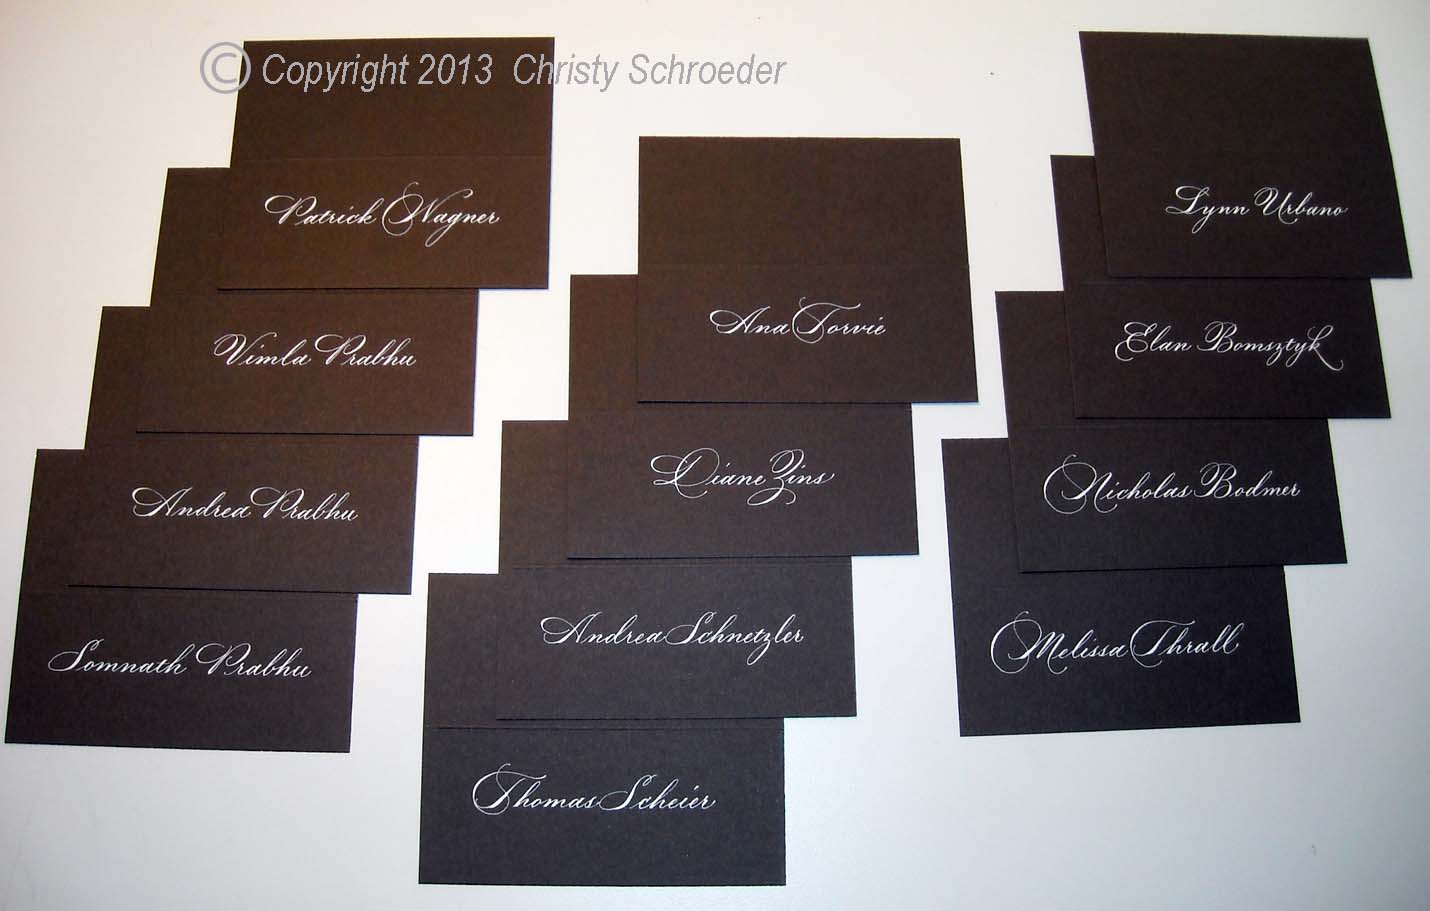
Simple, yet elegant, placecards adorned each place setting.
But the largest calligraphy project for this wedding was the seating chart. Here are photos of my step-by-step process in its creation...
Creating a Seating Chart
Seating charts can be organized a number of ways, and it's always helpful to work with a wedding designer who has a specific idea of what they want done. Sinclair & Moore Events prefers a chart organized alphabetically by last name, rather than by table number, making it much easier and faster for guests to locate themselves on the chart.

First, I determine the number of names per alphabet section. My column divisions are then determined based on the number of names in each section, trying to balance the overall chart vertically.

Next, I write the longest name followed by the table number, to determine how large the writing can be and the overall column width. The perimeter margin space and necessary column width will tell me how much space I can leave between columns.
Space for the heading and the title is also measured.
I create a scale diagram on graph paper with all of the measurements, taking lots of notes as I proceed. A very wise book maker (thank you Michael Jacobs!) always says, "Measure twice, cut once!" The same applies to calligraphy when there is no room for error. All of the measurements are then transferred confidently to the large paper and ruled with white chalk pencil (Fons & Porter).

With measurements in place, the heading is written first because it is the largest and most crucial—if I make a mistake here, at least I have not written the entire chart! I write the heading on a separate paper that acts as a placement and measuring guide, placed above the area I will be writing. (Some prefer to lightly pencil in the text and ink over it, but I find I lose some of the spontaneity in my writing with this method.)

With the completed title in place, it's time to begin the bulk of the chart...

...section by section, no distractions, and a block of time that I can complete as much as possible in one sitting or one day.

Great blog. Love all the different projects you shared including the step by step for the seating chart. WOW! So much work, so beautifully presented.
ReplyDelete