Showing posts with label wedding calligraphy. Show all posts

Monday, September 2, 2013

Copperplate Calligraphy—A New Teaching Adventure

My students have heard me say, time and again, that teaching calligraphy has made me a better calligrapher.  Through written and verbal instruction, and hands-on demonstration, I need to be able to explain the forms I am creating and relate individual letters to a bigger picture, calligraphically speaking.

Copperplate sample; quote by Alfred Fairbank 

I was first introduced to the Copperplate style more than twenty years ago; I have been doing Copperplate in the form of commissioned work for at least the last ten years.  I have been asked to teach this hand, but have never felt ready until now.  Why?  I think it's a matter of finally feeling confident in recognizing the little details that make these letters so beautiful.


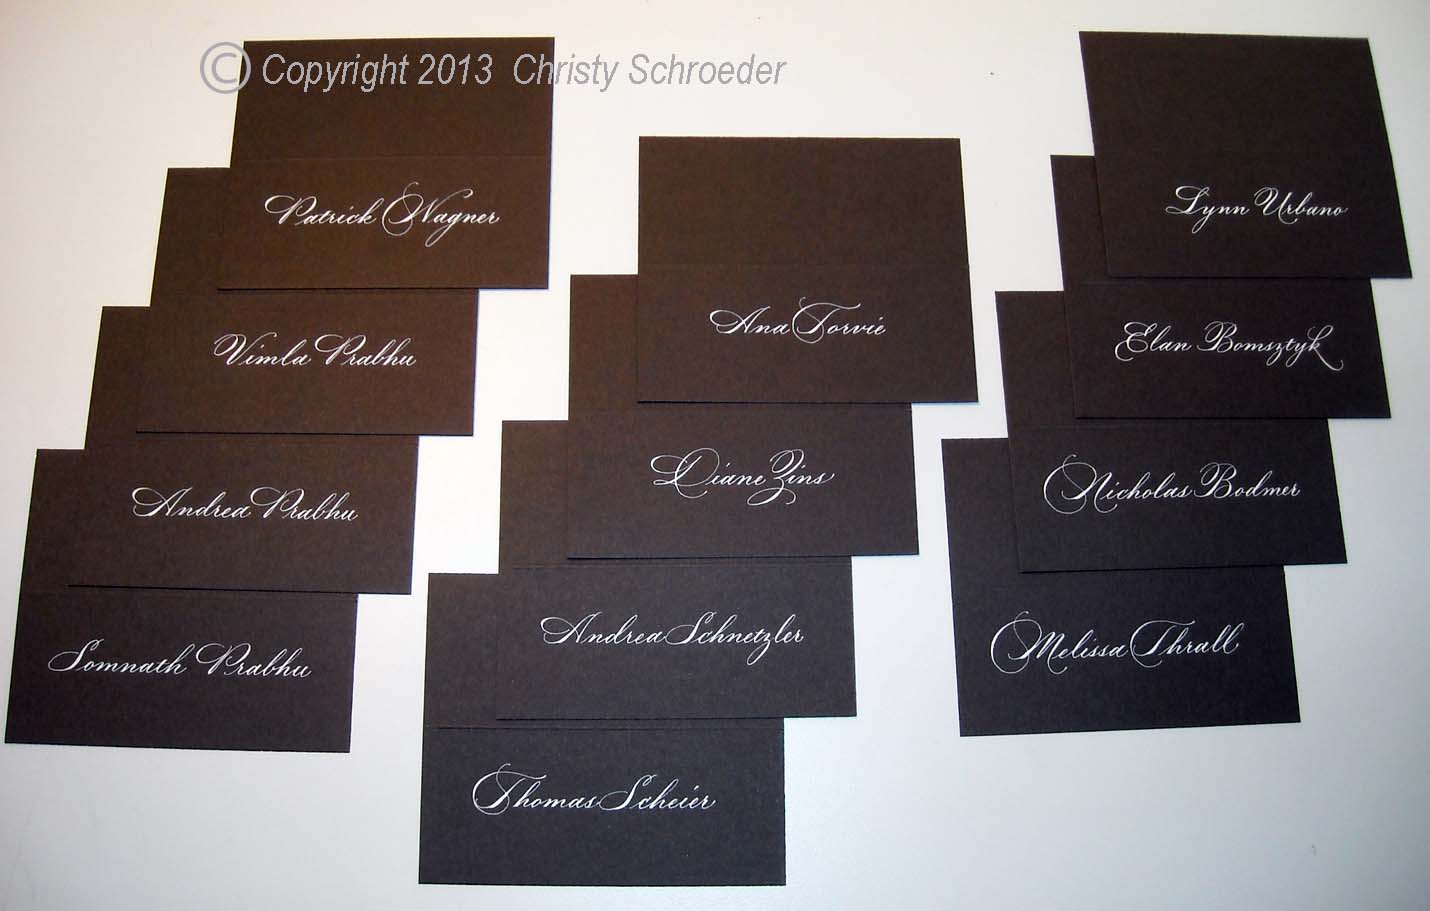
Dr. Ph Martin's Bleedproof White on gunmetal metallic paper

Aiming for consistency between the related letters is always key when learning a  new hand.  Sometimes it's difficult to realize that we need to "learn to walk before we run" and that "flying lessons" come when the basic forms are fully understood. 
 
Rose gold (mixed acrylic) on blue; Hunt 22 nib
    
 But Copperplate lends itself well to some creative flourishing, as well as the opportunity to use a variety of different capital letter styles.

Walnut ink on white; Hunt 22 nib; Spencerian style capitals

And we don't always have to write on a straight line! 

Winsor & Newton Permanent Yellow Deep gouache; Brause Rose nib
So, beginning in October, up to ten unsuspecting souls will join me in "walking lessons" with the pointed pen, and in six weeks we will progress toward "running"...well, maybe a trot. :)
Flying lessons will have to wait for the next class—I have to leave something to keep them coming back!


Thursday, August 1, 2013

Calligraphy for an Elegant Wedding

I  LOVE that there are brides, grooms,and wedding designers out there who feel the way I do 
about incorporating calligraphy into a wedding, making the smallest details unforgettable. 

I have had the pleasure of working several times with Sinclair & Moore Events (formerly Steven Moore Designs) and Brittany O'Brien of Spruce Stationery & Design.  This creative team pulls out all the stops when it comes to designing gorgeous weddings.  When their clients, Andrea and Som, wed last Fall, a bit of Pilgrim's Quill Calligraphy added a flourish to their special day—from Seattle to India, and New York to Germany and Sweden...


The invitations were mailed in boxes—
white ink in gray... 


...the dessert menu informed guests of the delectable selections awaiting them...


...and the Guest Book sign invited guests to leave memories for years to come.


Simple, yet elegant, placecards adorned each place setting.


But the largest calligraphy project for this wedding was the seating chart.  Here are photos of my step-by-step process in its creation...


Creating a Seating Chart


Seating charts can be organized a number of ways, and it's always helpful to work with a wedding designer who has a specific idea of what they want done.  Sinclair & Moore Events prefers a chart organized alphabetically by last name, rather than by table number, making it much easier and faster for guests to locate themselves on the chart.


First, I determine the number of names per alphabet section.  My column divisions are then determined based on the number of names in each section, trying to balance the overall chart vertically.


Next, I write the longest name followed by the table number, to determine how large the writing can be and the overall column width.  The perimeter margin space and necessary column width will tell me how much space I can leave between columns.
Space for the heading and the title is also measured.


I create a scale diagram on graph paper with all of the measurements, taking lots of notes as I proceed.  A very wise book maker (thank you Michael Jacobs!) always says, "Measure twice, cut once!"  The same applies to calligraphy when there is no room for error.  All of the measurements are then transferred confidently to the large paper and ruled with white chalk pencil (Fons & Porter). 


 With measurements in place, the heading is written first because it is the largest and most crucial—if I make a mistake here, at least I have not written the entire chart!  I write the heading on a separate paper that acts as a placement and measuring guide, placed above the area I will be writing.  (Some prefer to lightly pencil in the text and ink over it, but I find I lose some of the spontaneity in my writing with this method.)


With the completed title in place, it's time to begin the bulk of the chart...


...section by section, no distractions, and a block of time that I can complete as much as possible in one sitting or one day. 


When the ink is completely dry and the information has been proofread for errors (Yikes!  Heaven forbid!), the chalk lining is erased carefully and the chart is ready for the big day!


Saturday, July 6, 2013

Calligraphy Outside the Box

Over the past few years I have had the pleasure of working with one of Bellingham's most creative wedding invitation designers.  Kerri Efendi (Kerri Efendi Designs), is one inspirational gal who likes to push the limits in design.  As a result, she has challenged me a few times to think "outside the box" of my usual formal calligraphy and try something new.  I love the challenge!


A New Challenge

Last winter Kerri asked me to literally think—or rather, letter—"outside the box."  She was putting together a wedding invite for a Seattle Met Bride & Groom Magazine photo shoot and the "envelope" was a flat metal box.  The color theme was "Red, Red, Wine" so she spray painted the box with a burgundy red paint, and gold became the accent color to match the inside of the box.

The finished box

For the calligraphy, "Something free-flowing and fun", she said.  I had some reservations about writing with a metal nib on a spray painted metal box, but to my delight, it worked beautifully! 
The final piece, along with Kerri's invite, appeared in the Winter/Spring 2013 issue of Seattle Met Bride & Groom.    

trials of the name with variations in the capital letters


As any calligrapher can attest, a 'free-flowing' style can take more practice and warm up than traditional formal styles if the end result is to appear effortless.  There is still structure underneath those dancing forms!


working out the size and address lines to contrast the name


As always, I can see what I may have done differently—changing a letter form here and there—but in the end it worked as I had
envisioned it.  


The Details...

For those who like the details, my practice work was done with Moon Palace Sumi ink and a Brause Rose pointed pen nib on Canson Pro Marker Layout paper.  Once I'd completed a sample on paper, I scanned the name separate from the address lines and set it up as a finished layout using InDesign.  Once approval of the work was received, I used Saral white transfer paper to lightly trace/transfer the design onto the box with a stylus.  Then I was ready to do the final lettering with the Brause Rose nib and Dr. Ph Martin's Copperplate Gold Calligraphy Ink (my favorite!).


 What I learned in the process:

  • as lightly as I pressed, the white transfer material did not want to completely rub off of the painted metal surface;  
  • paint on metal takes at least several days (ideally a week) to dry and cure.   

Wednesday, June 19, 2013

What Is Your Elevator Speech?

Turning my favorite quotes into greetings of encouragement


When I started my calligraphy business three years ago, I attended small business workshops, determined to be successful from the start. As any self-employed individual will likely say, it has been a continuous learning experience in wearing many different hats—promoter, advertiser, saleswoman, accountant, computer tech (my least favorite!), etc. Somewhere down the line, the hat of my business intent is put on and calligraphy calls out for attention saying, “Hey! I’ve been waiting for you to show up!”


The Burning Question


One thing that stuck with me from those business workshops is the question, “What is your elevator speech?  If only given the amount of time it takes for an elevator ride to introduce myself and explain my work to a stranger, how do I accomplish that most effectively and eloquently? 


After numerous times telling people that I am a calligrapher and watching their eyes glaze over in incomprehension, I decided to tell the next person, “I am a lettering artist.”  The kind gentleman replied, “Oh!  You’re a calligrapher!”  The first person of many who knew what calligraphy is!  


display sample for my Foundational calligraphy class


My ‘favorite’ response from people is, “Oh, I did that once,” or, “That’s pretty writing, right?”  As I have learned and try to impart to my students, the art of calligraphy is so much more than learning to make pretty letters! 
   

 An "A-Ha!" Moment


In trying to devise my own elevator speech, I remembered a conversation I had with my aunt’s sister, Brigitte.  When I told her I’m a calligrapher, she responded with enthusiasm and said, “What’s your favorite part about what you do?”  Wow!  That simple question allowed me to briefly say how much I love the deep, rich history of calligraphy and sharing that with my students.  I also told her I enjoy doing calligraphy for weddings, knowing that I can add a special and beautiful touch to the details of a memorable day.


wedding envelope calligraphy


Brigitte also reminded me of the importance of really listening to someone when they talk about their life or occupation.  I make more of an effort now to ask questions, because after all, it’s human nature to want to share our passion—whether it’s a job, family, or special interest.


lettering art sample for classes


So, what is my elevator speech?  “I am an artist and teacher of calligraphy and its ancient history—an art that gives beauty and visual interest to the written word.”  For now, that’s enough to say—it will change over time and that’s okay.  Thanks Brigitte, for giving me a new insight.


Now it's your turn...what is YOUR elevator speech?